Blow Painting with Straws
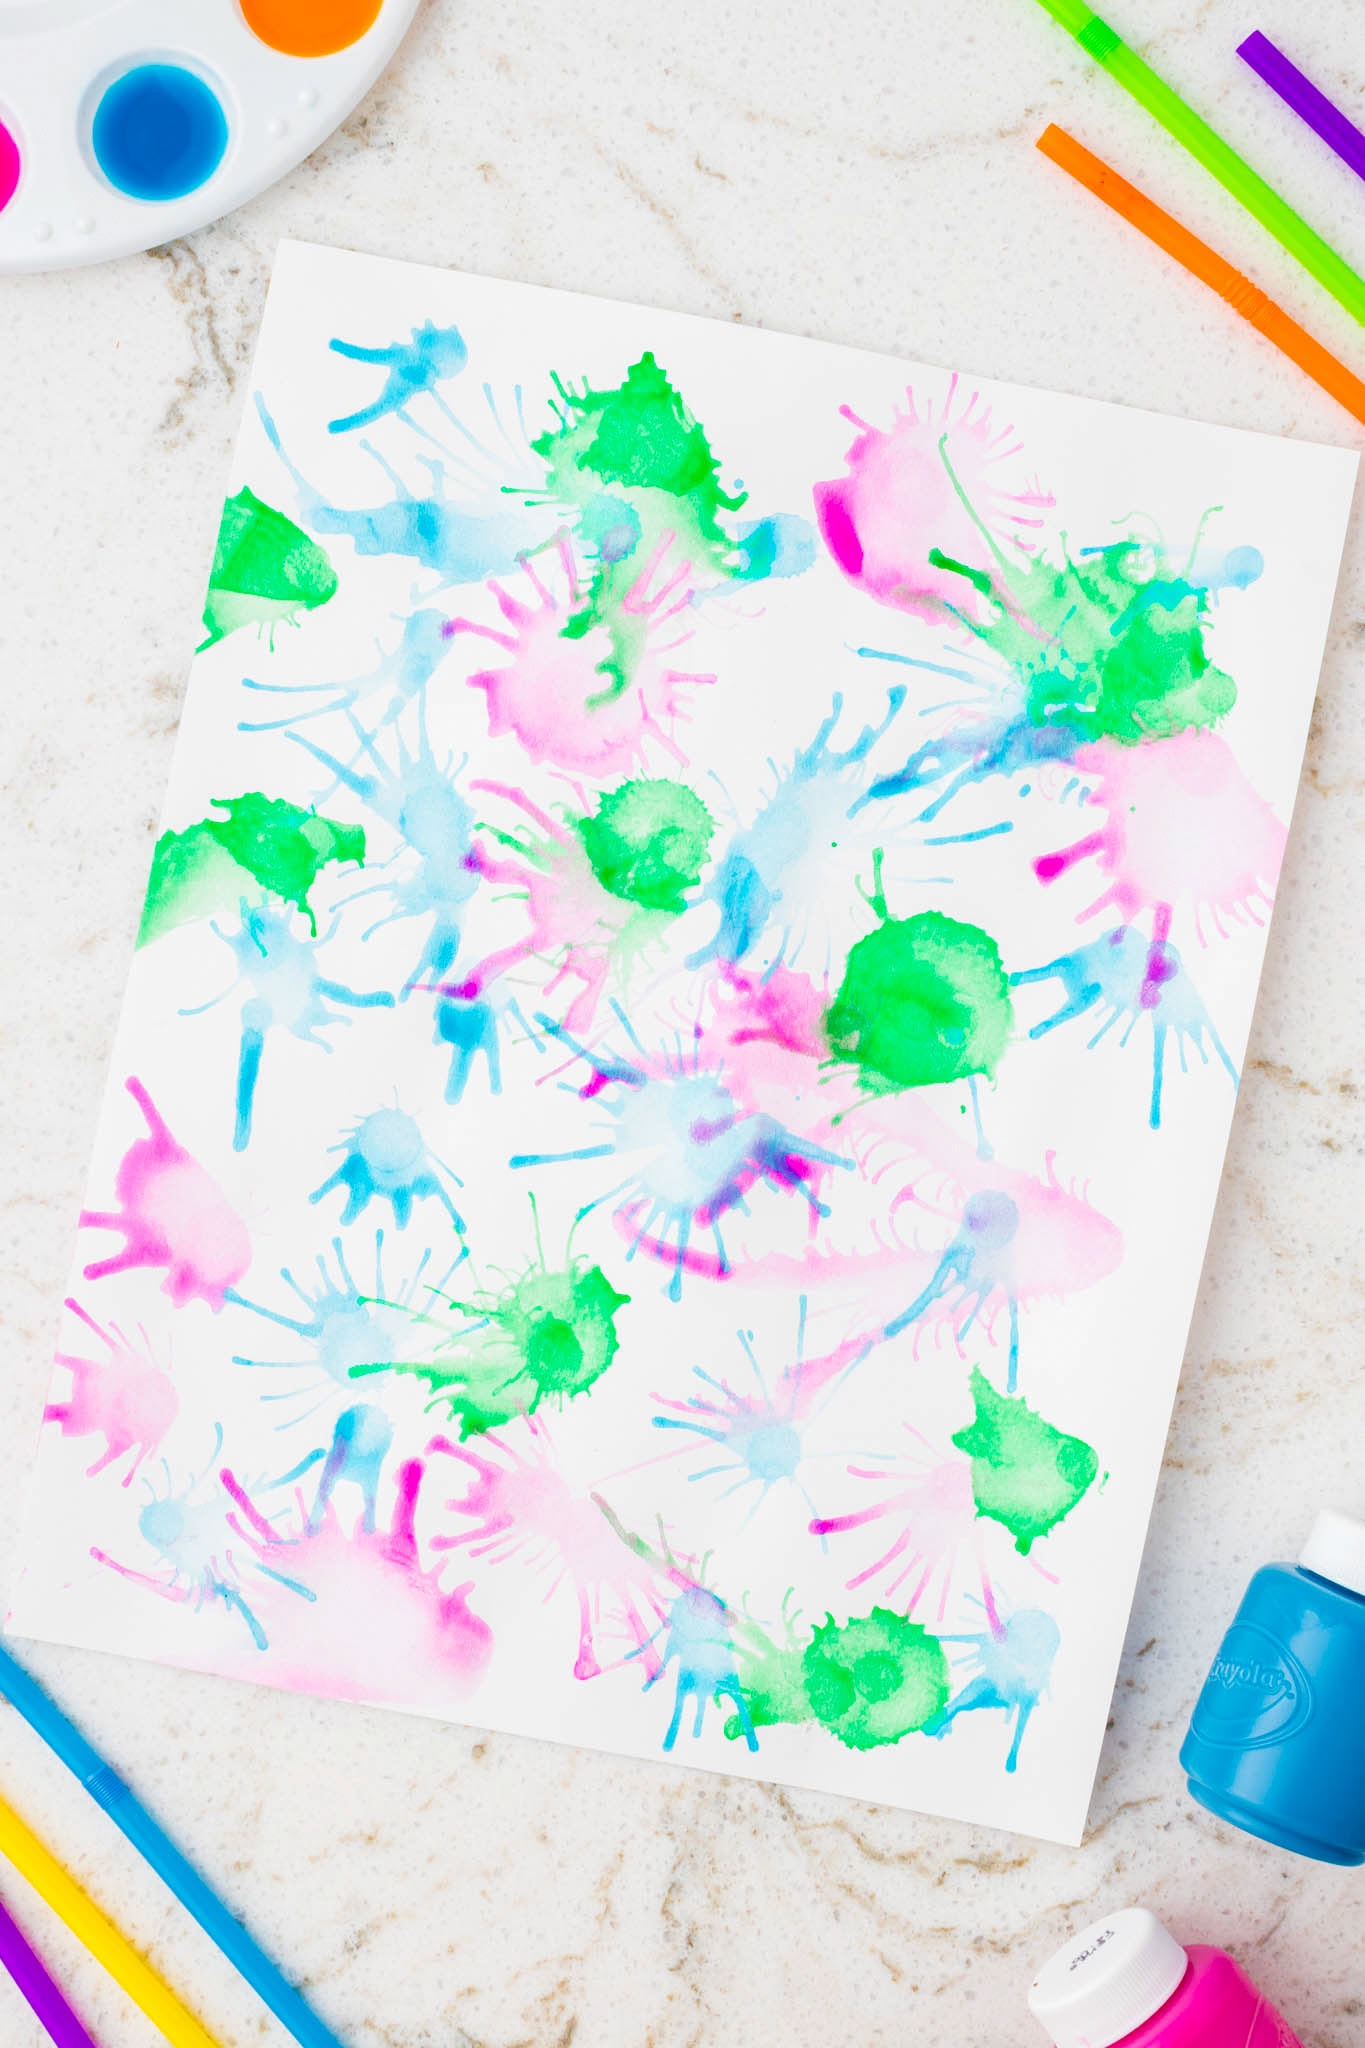
Discover the magic of Blow Painting with Straws as kids drip, puff, and watch vibrant watercolors burst into dazzling patterns—an effortless, mess-friendly craft that blends creativity and a splash of science for hours of “wow-that-was-easy!” fun.
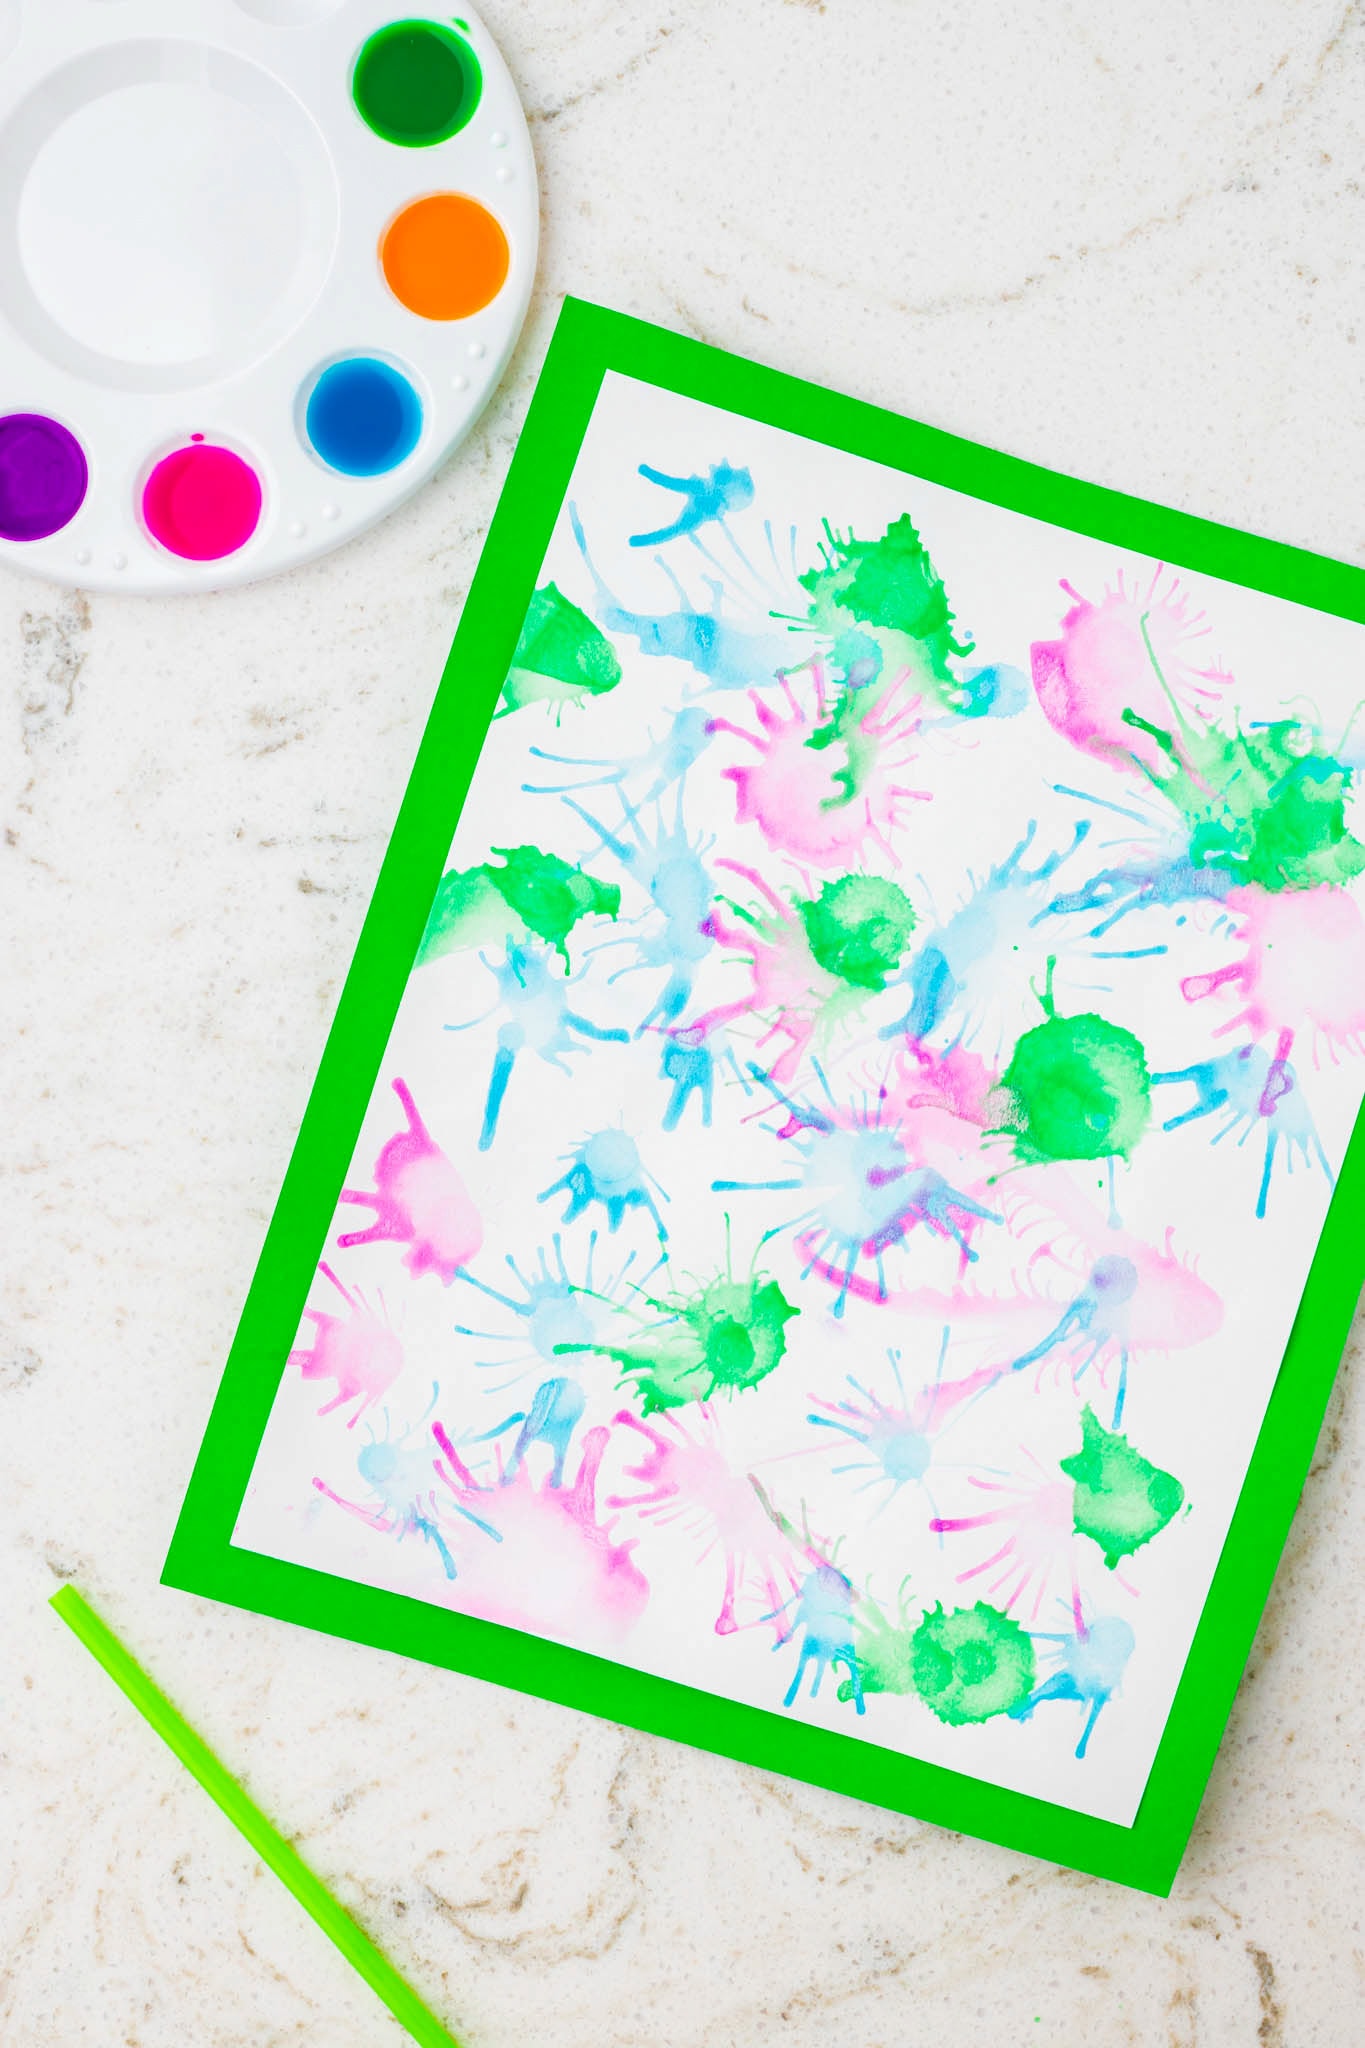
Get the kids’ creativity flowing with fun and colorful blow art – no paintbrush required! It is super simple to set up, all you really need is straws, paint and sturdy paper to make beautiful artwork. This art activity is mixed with a little bit of science, so the kids will be engaged for a long time. The kids will have fun blowing the paint and finding out what type of unique pattern they will create. Every paint drop will look different! Once they are dry, hang them on the clothesline if you have one, and enjoy an art show!
Why You’ll Love This Activity
- Keep the kids busy painting inside or outside. On a rainy day, it’s great to set up inside, but on a sunny day, let them get inspiration from the great outdoors!
- Younger kids can work on their fine motor skills thanks to the pipette dropper transferring the paint.
- Kids will learn a little bit about air and how it can be used to move objects, in this case paint on a paper. This great activity is multipurpose – kids will learn about art and science!

Supplies Needed For Paint Blowing
- Washable Project Paint – Choose your favorite colors and let your creativity shine through. In a pinch, use food coloring or liquid watercolor paints.
- Water – Use water to dilute the paint, making it spreadable.
- Paint tray or plastic cups – This will hold your diluted paint to keep the mess minimal.
- Cardstock – A heavier paper like cardstock or water color paper won’t soak up as much water and stay sturdy so it doesn’t rip.
- Pipette‑type dropper – These are great to have on hand for arts and crafts and
- Plastic straws – These don’t have to be fancy, just whatever you already have on hand, or what you find at the store.
Helpful Tools
- Baking pan – This will help to contain splatters, keeping the mess down.
How To Do Blow Painting with Straws
- Add your chosen paint colors to the paint tray, then mix in a small amount of water to thin it out.
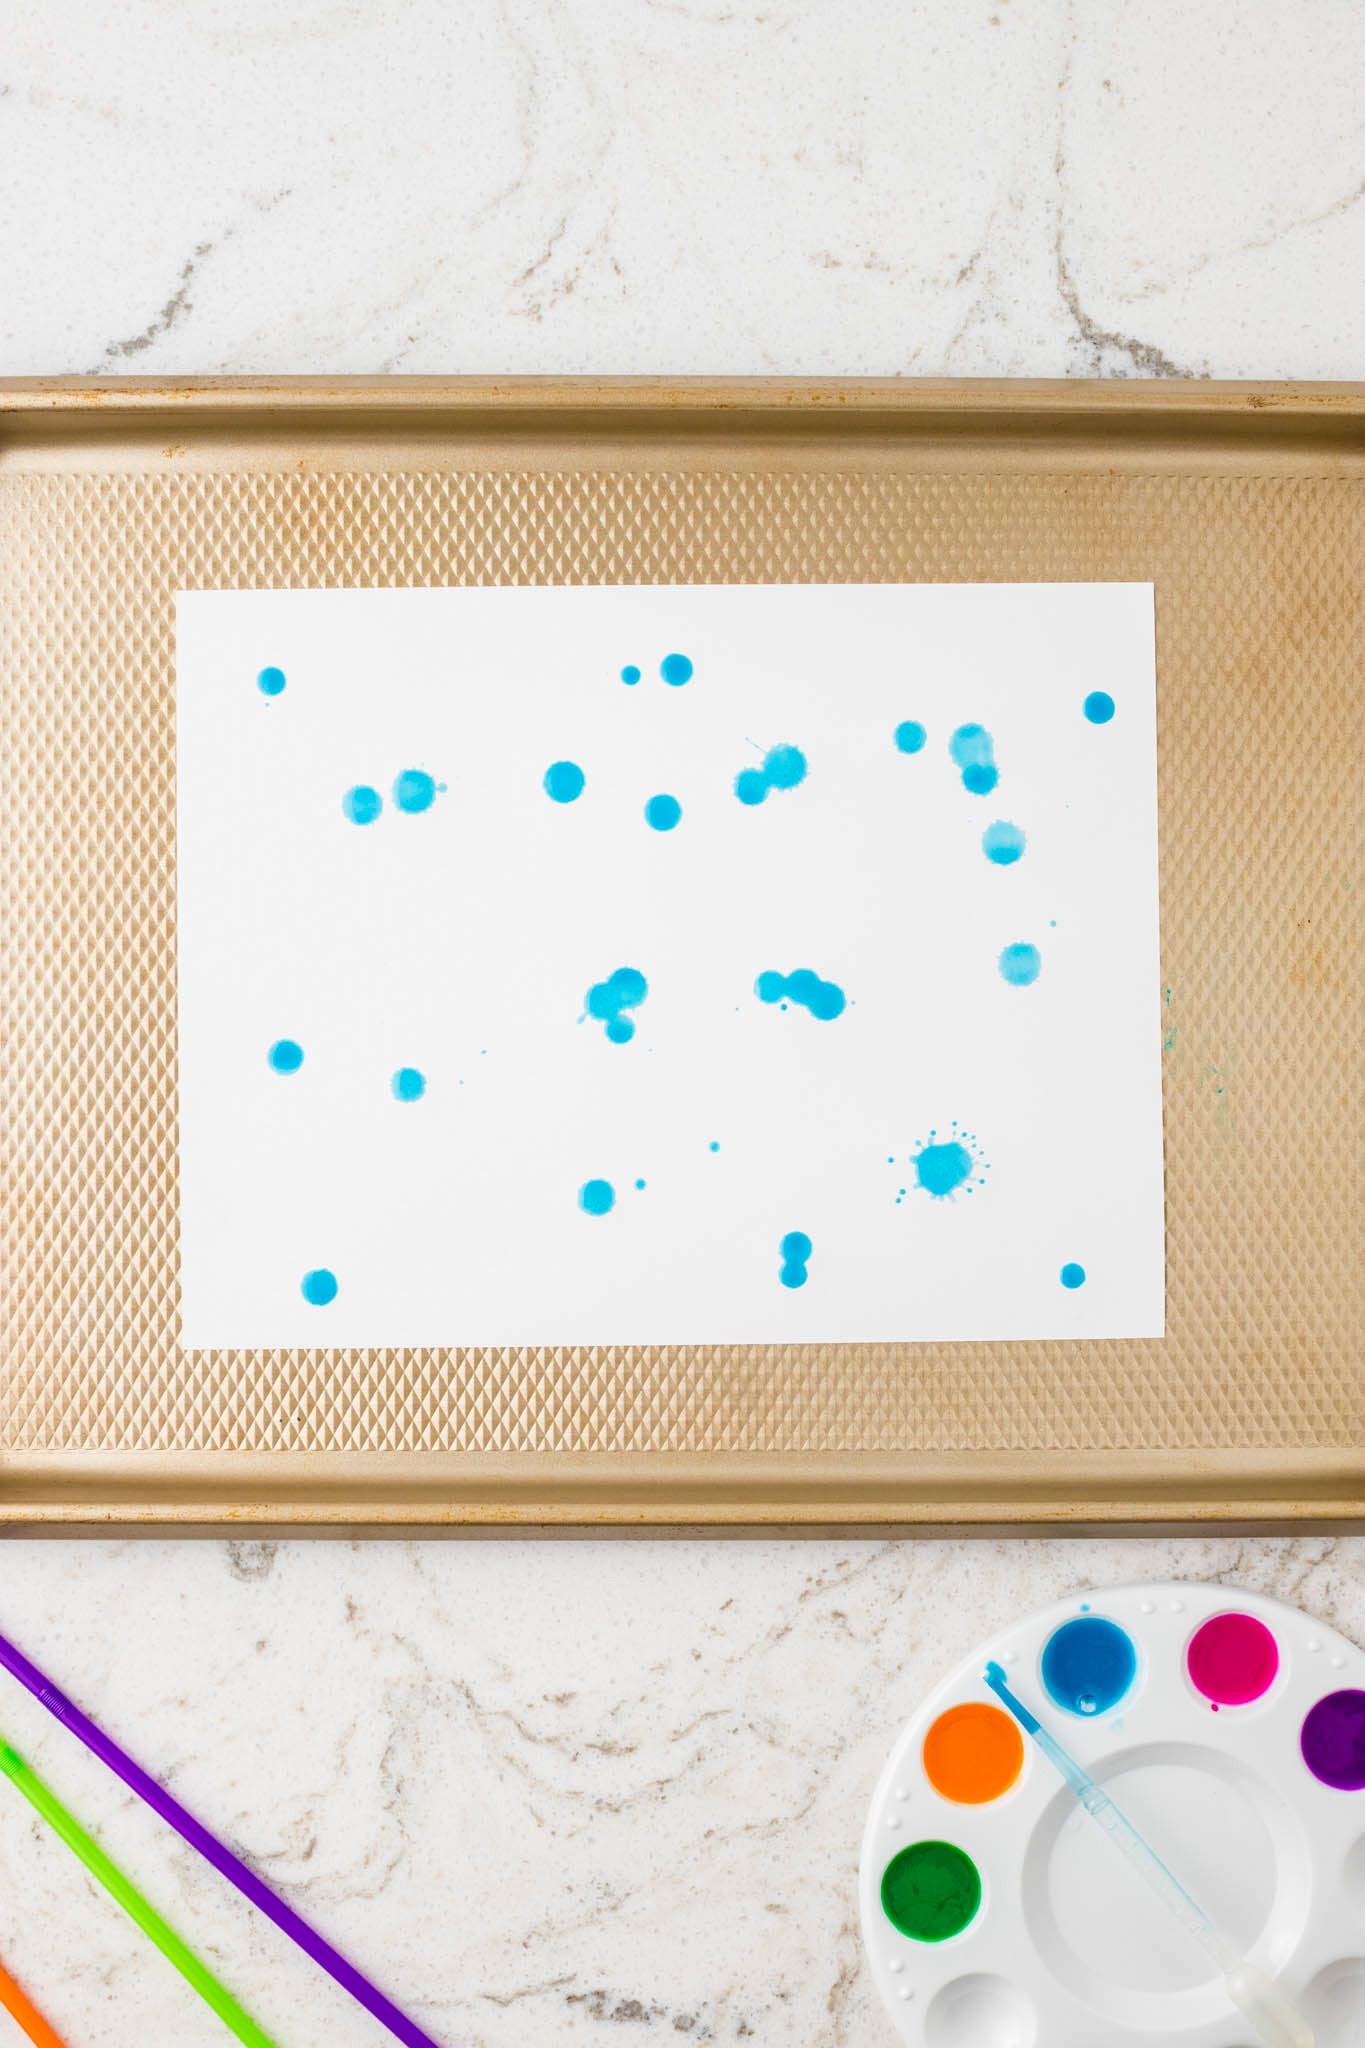
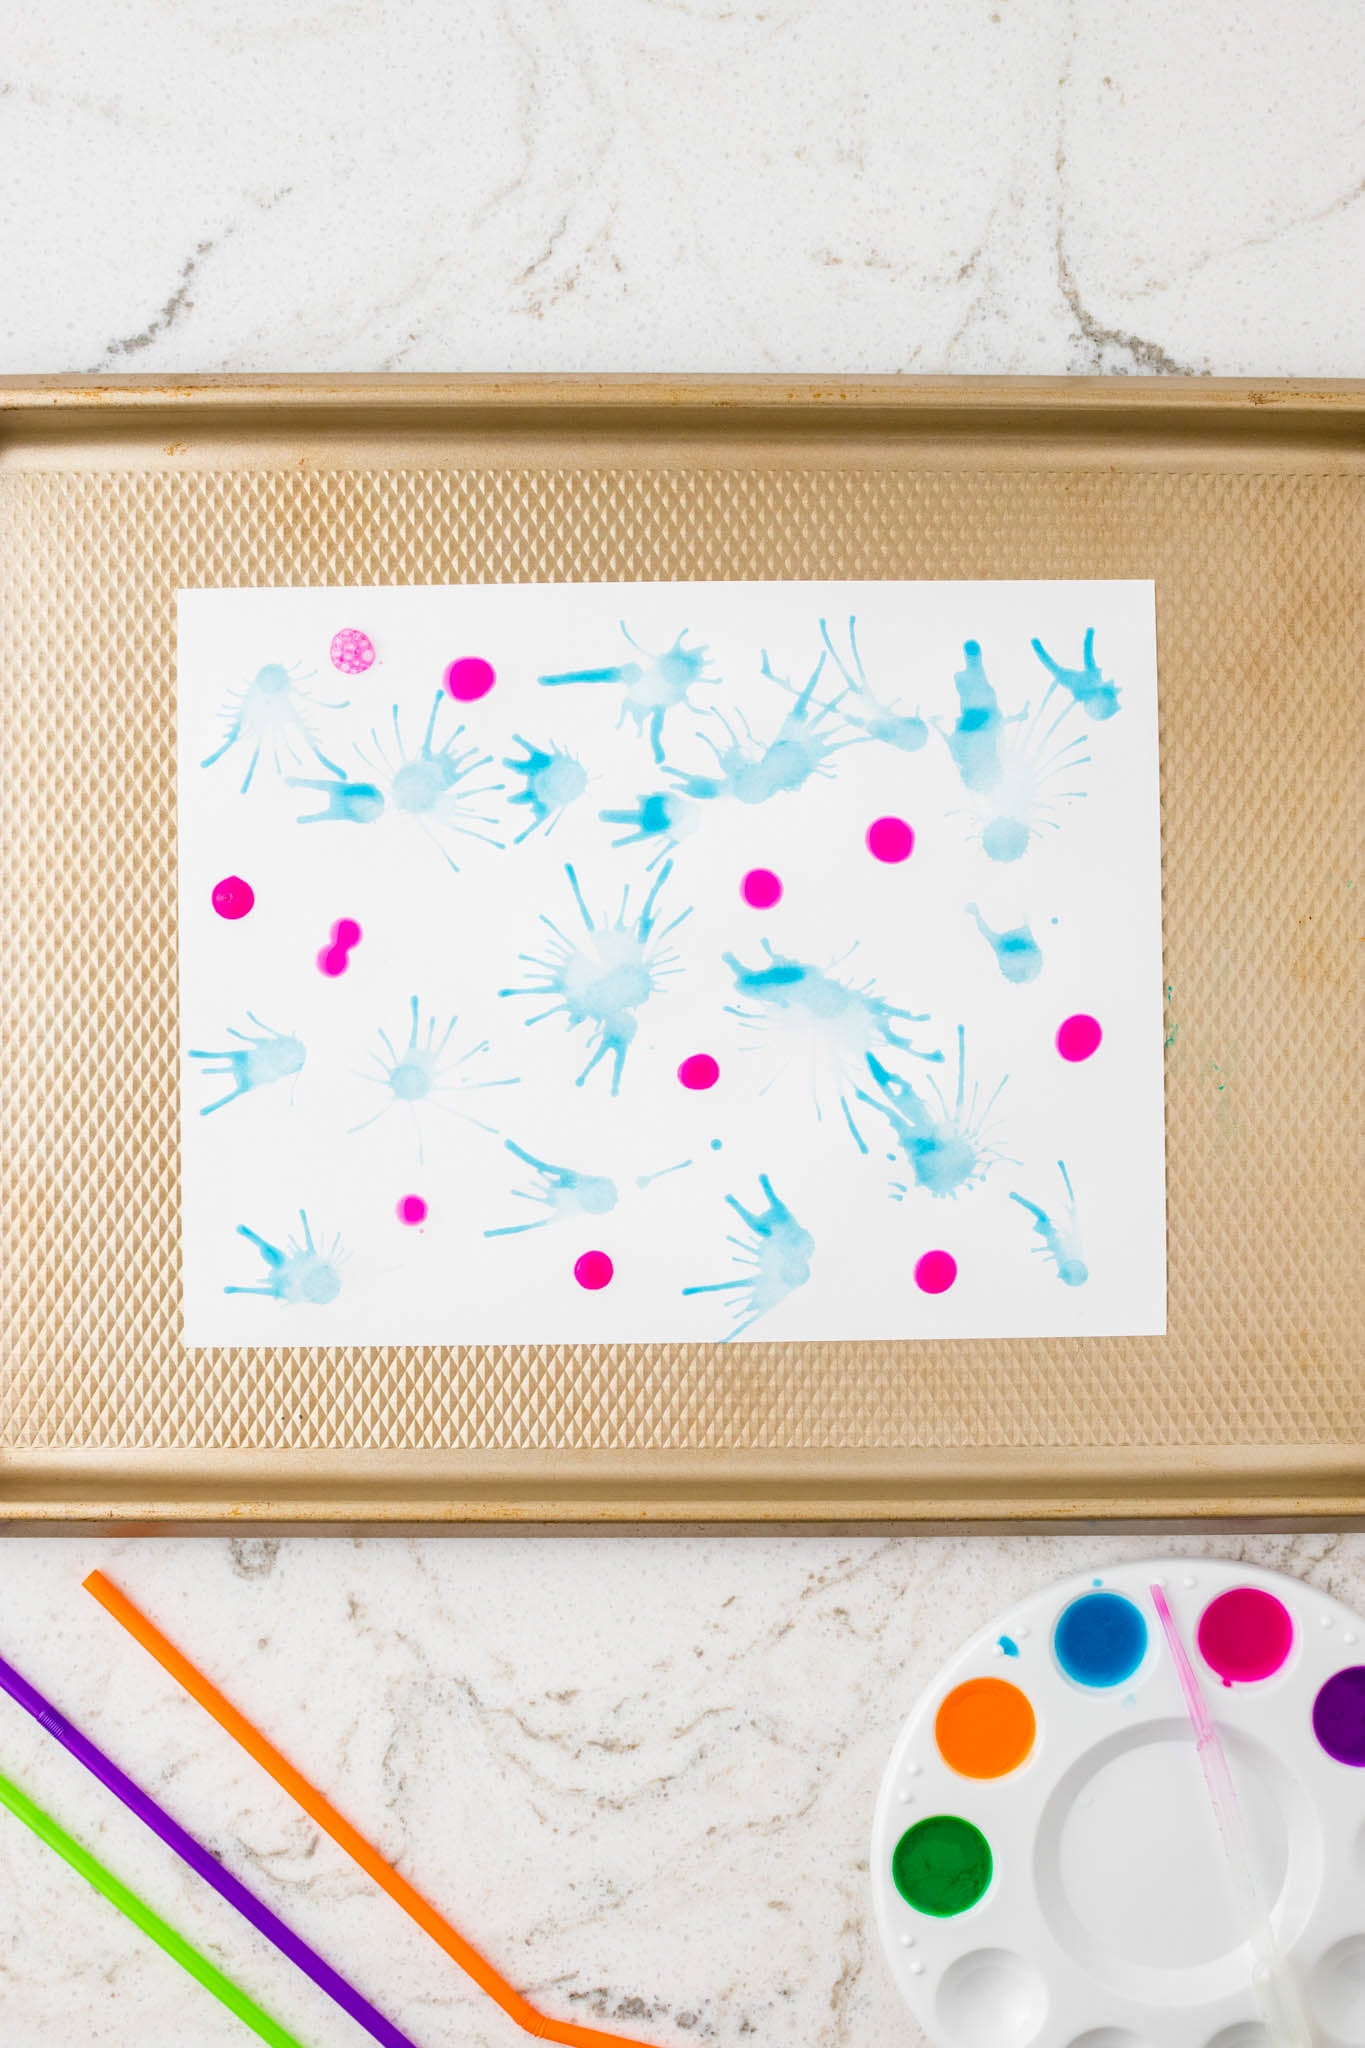
- Use the pipette dropper to add paint blobs to your paper. Start small, then add more. It’s easy to build up as you go.
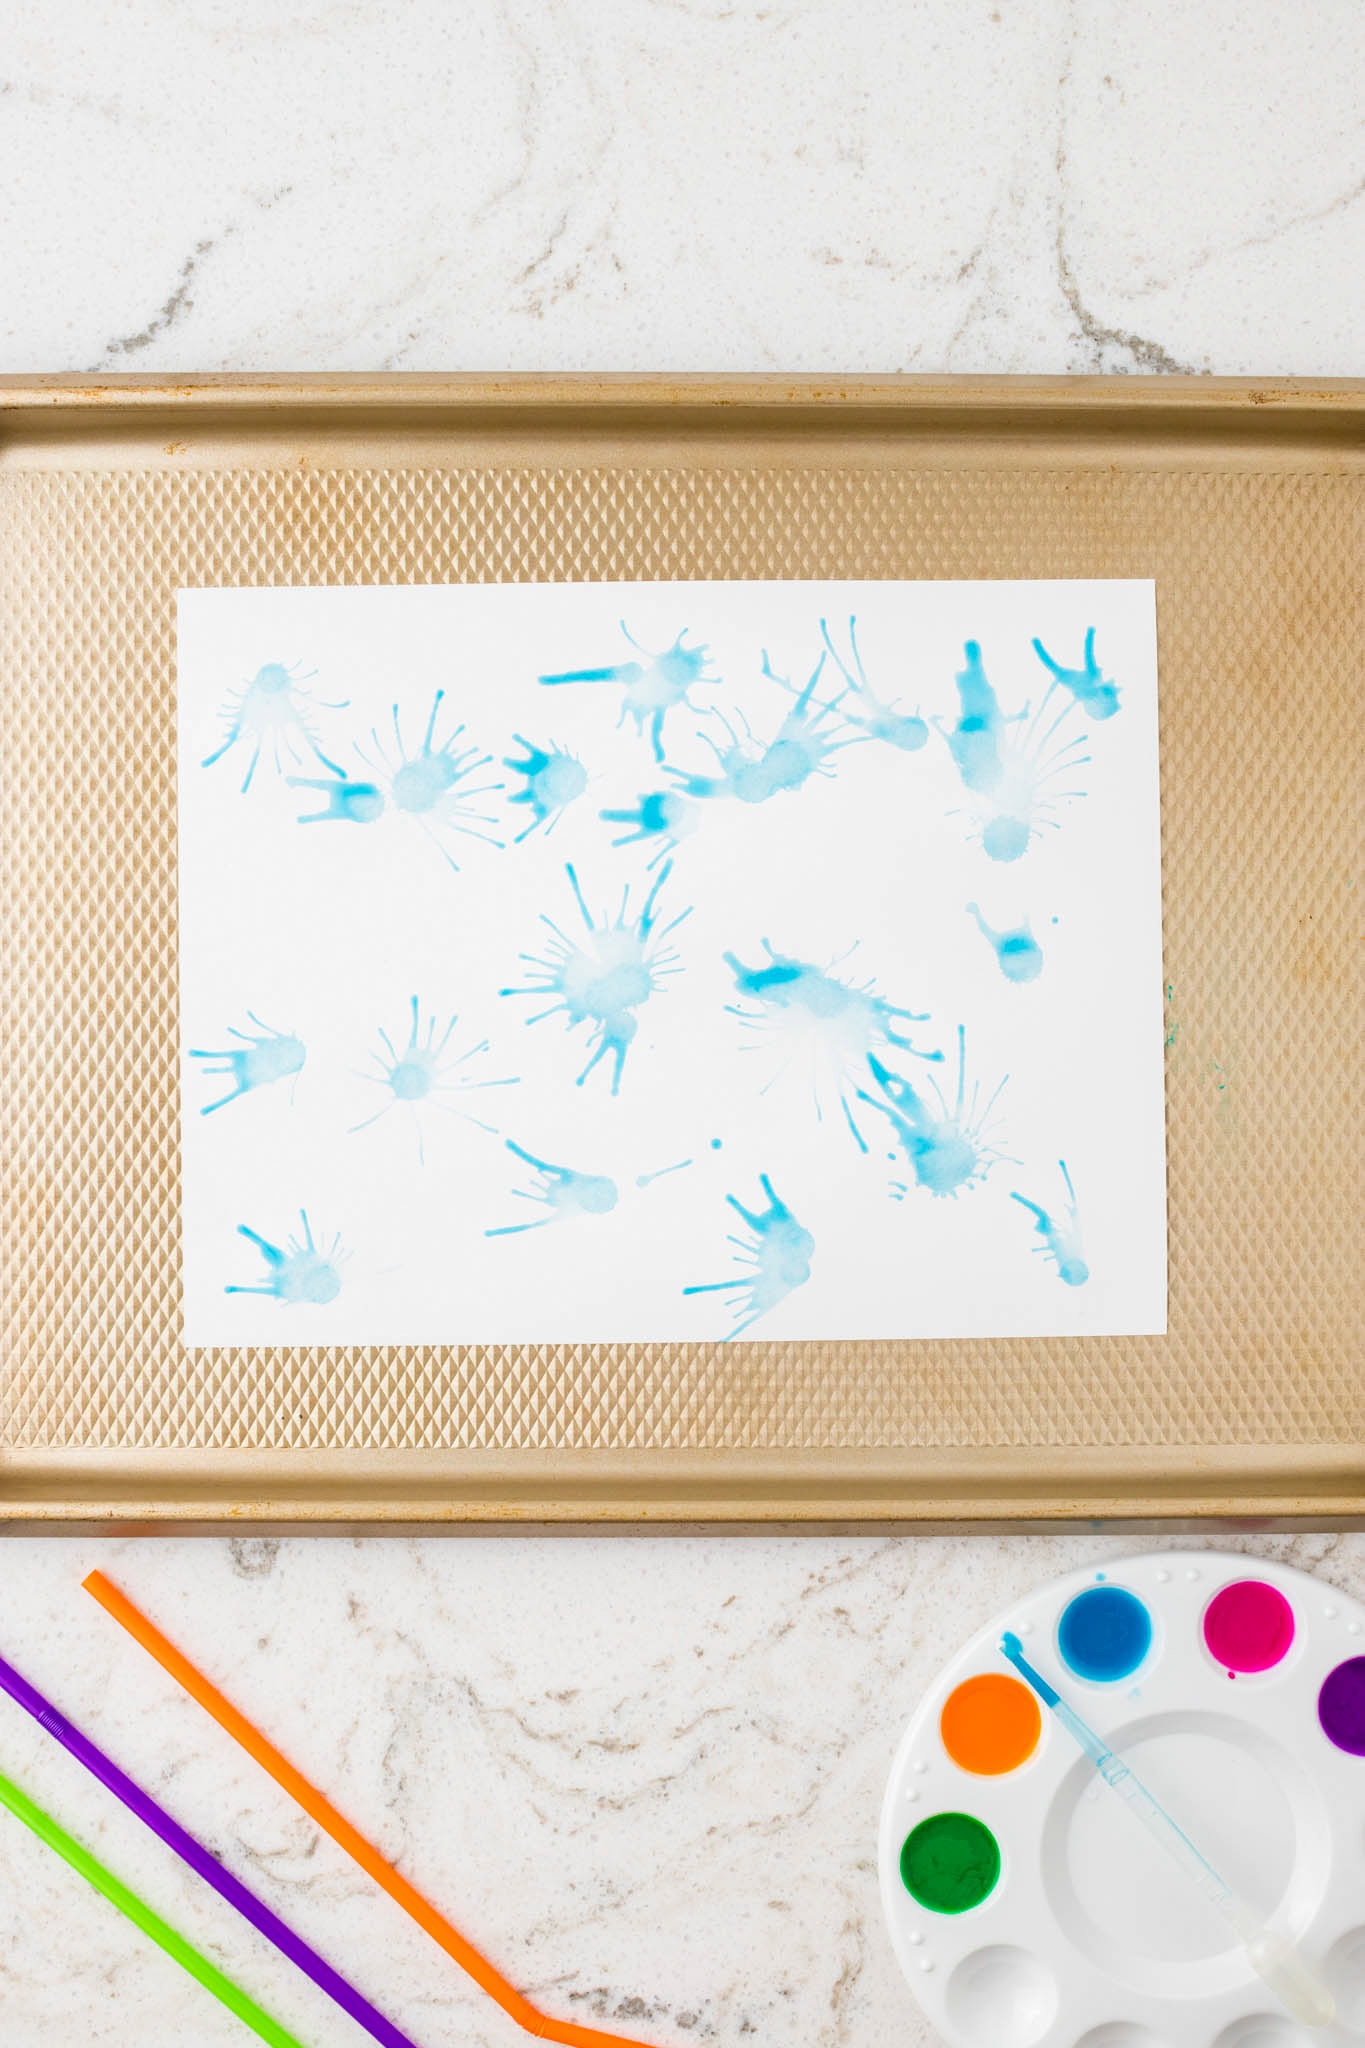
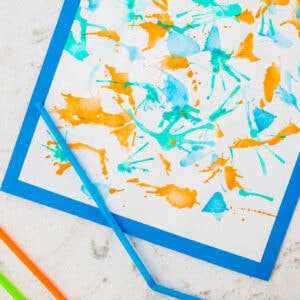
- Put the straw about an inch away from a paint puddle and blow to streak the paint. Try gentle bursts and different angles to see how the lines stretch.
- Once you’re happy with your design, set it flat in a clean, dry space. Give it at least an hour or more if your paint was on the thick side.

Pro Tips
- When thinning the paint with water, aim for a ratio of about 1 part paint to 2 parts water. The goal is to get the paint runny enough to move easily when you blow on it!
- Be sure to keep these straws separate from the straws you actually use for drinking because they are sure to get some paint on them.
- Poke a hole halfway up the straw so younger kids don’t accidentally suck paint up the straw.
- Make large globs of paint and add googly eyes once they are dry to create a silly monster!
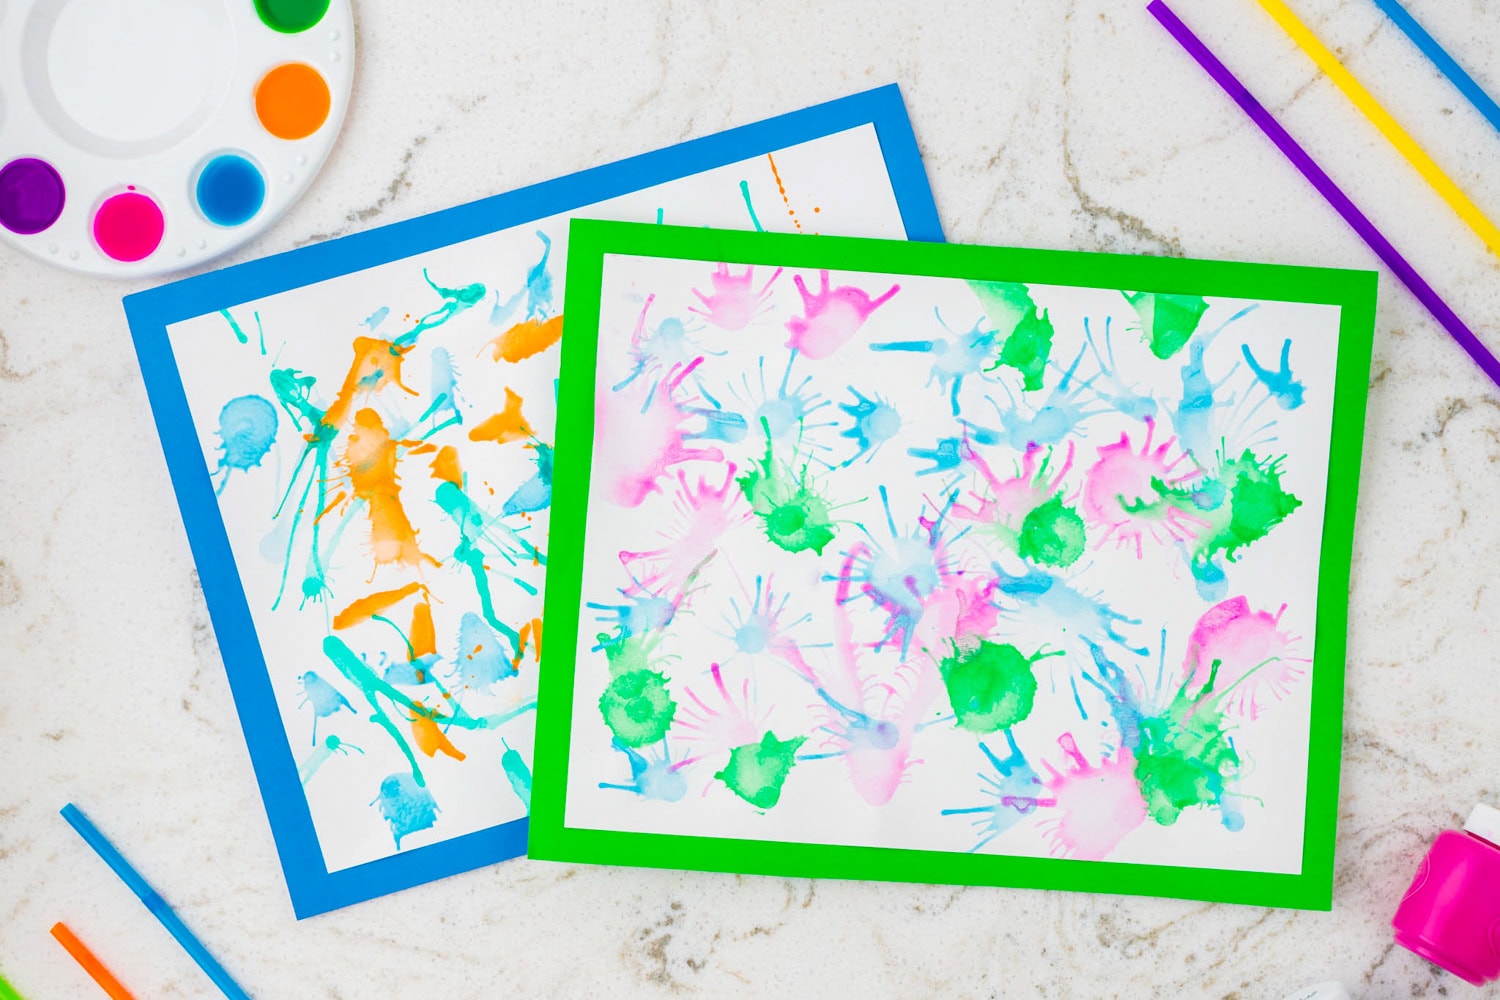
What could be more fun than blowing air through a straw to create unique artwork? Blow painting with straws is bound to be a hit with your kiddos, it sure is in our house!
Blow Painting with Straws
Ingredients
- Washable Project Paint choose your favorite colors
- Water for diluting paint
- Paint tray or plastic cup
- Cardstock or heavy paper
- Pipette‑type dropper
- Plastic straws
Instructions
- Lay your cardstock flat on a tray (a baking pan works great) or a protected surface. This helps to keep the splatter in check.
- Add your chosen paint color to the paint tray, then mix in a small amount of water to thin it out. Aim for a ratio of about 1 part paint to 2 parts water. The goal is to get the paint runny enough to move easily when you blow on it!
- Use the pipette dropper to add paint blobs. Start small, then add more. It’s easy to build up as you go.
- Put the straw about an inch away from a paint puddle and blow to streak the paint. Try gentle bursts and different angles to see how the lines stretch.
- Once you’re happy with your design, set it flat in a clean, dry space. Give it at least an hour or more if your paint was on the thick side. You’ll know it’s ready when the paint is no longer shiny or cool to the touch anymore.
More Great Painting Activities
- Another great way to splatter paint is with Squirt Gun Painting. Head outside with small, affordable squirt guns filled with paint and water and start creating!
- Don’t let broken, unused sidewalk chalk go to waste! Repurpose it by making super fun Sidewalk Chalk Paint.
- A classic summer activity is blowing bubbles, but what if you combined them with paint? Painting with Bubbles is always a favorite pastime in our home. It is so easy to prepare and the kids always have a blast.
- Playing with texture is always a great experience and Salt Painting Art is an unique way to combine texture with art. This is a perfect afternoon boredom buster because you most likely have all of the supplies at home already.
This is a perfect rainy day craft! Thanks!!